A dark hardwood jewelry box open on a dark wood desk against a white wall, its cream lined lid raised and a compartment tray of rings and earrings filling the base

WoodworkingDrawing 18 of 33

Jewelry
box

A small walnut jewelry box I built with no drawing, no cut list and no CAD, just a picture of it in my head, a table saw and a drill, in one continuous run. It taught me more about tolerance stack up than any course did.

Sheet 02 of 06/No drawing

There was no drawing

I didn't draw this one or write a cut list, I just built the box that was already assembled in my head.
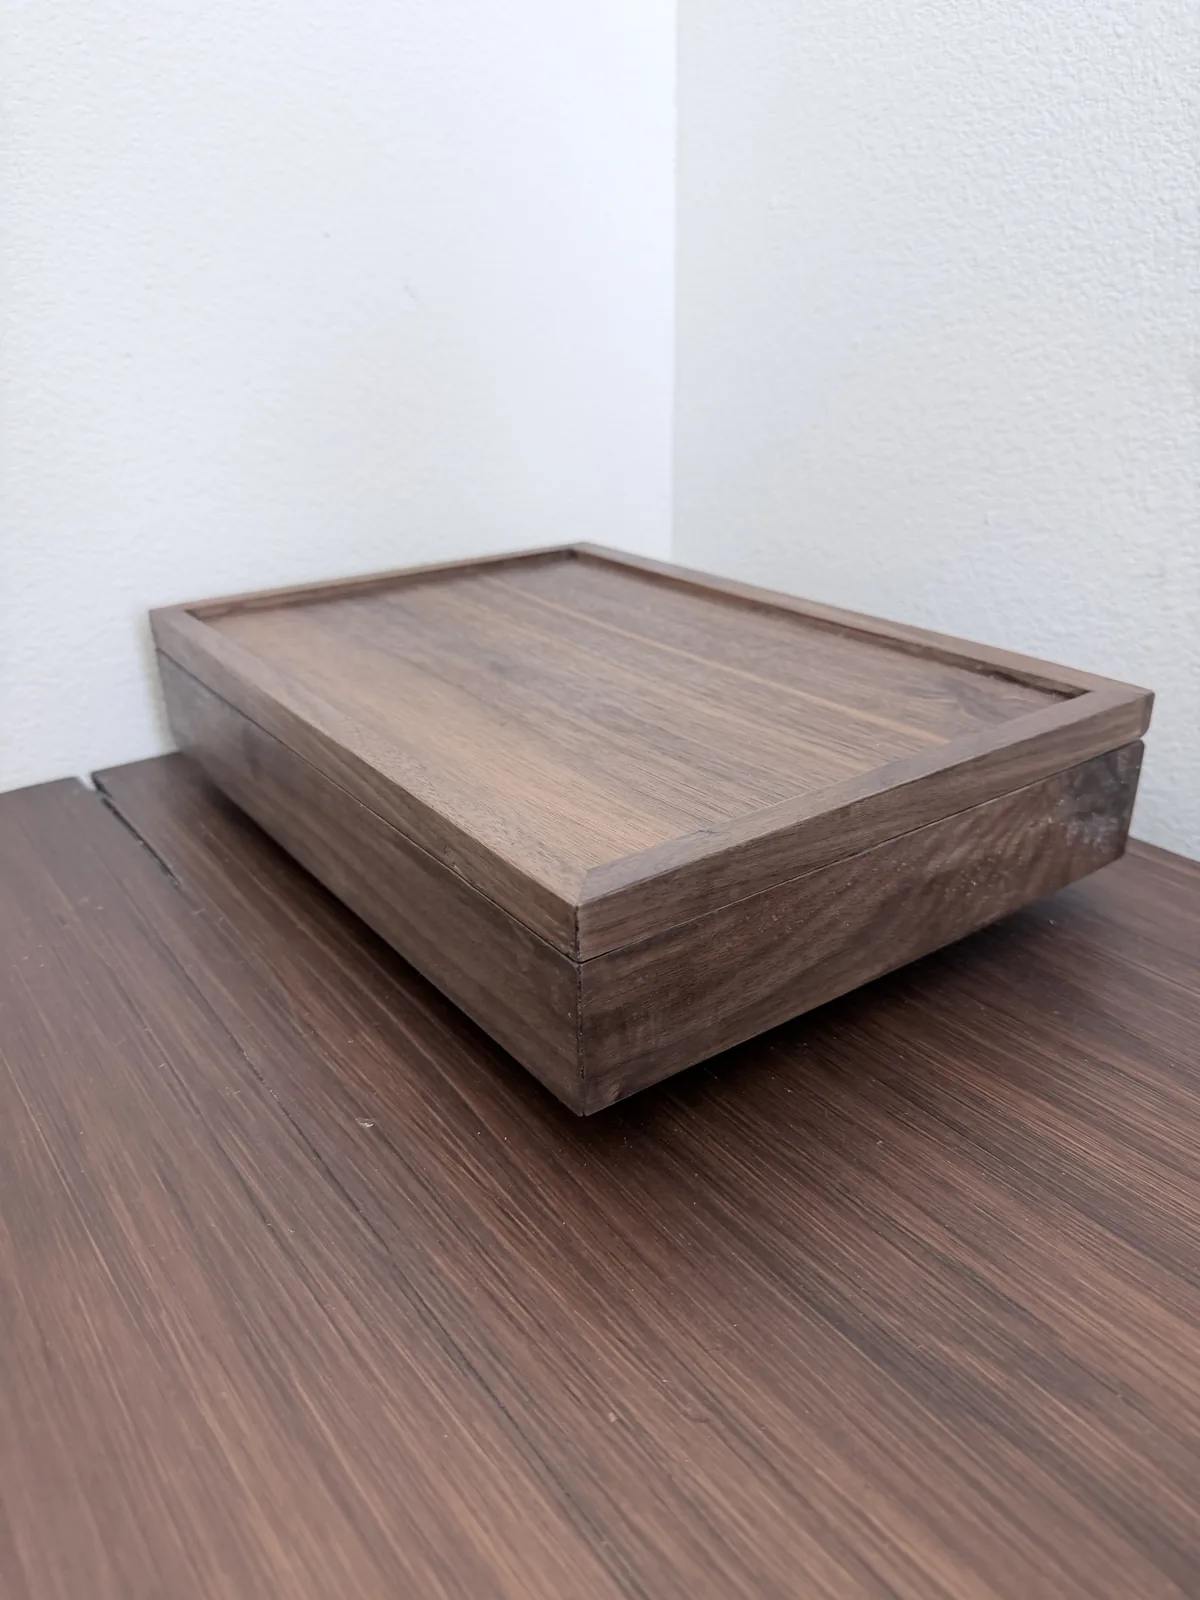
The closed jewelry box on a dark wood desk against a white wall, seen from a raised three quarter angle, showing the mitred lid frame and the grain of the panel
PL 02Closed. The lid is a mitred frame around a floating panel, and it sits proud of the carcass by its own thickness.
The jewelry box open on a dark wood desk, photographed from the front, the lid standing open against a white wall and the loaded tray filling the base
PL 03From the front. The lid stands at its stop and everything the box holds reads in one view.
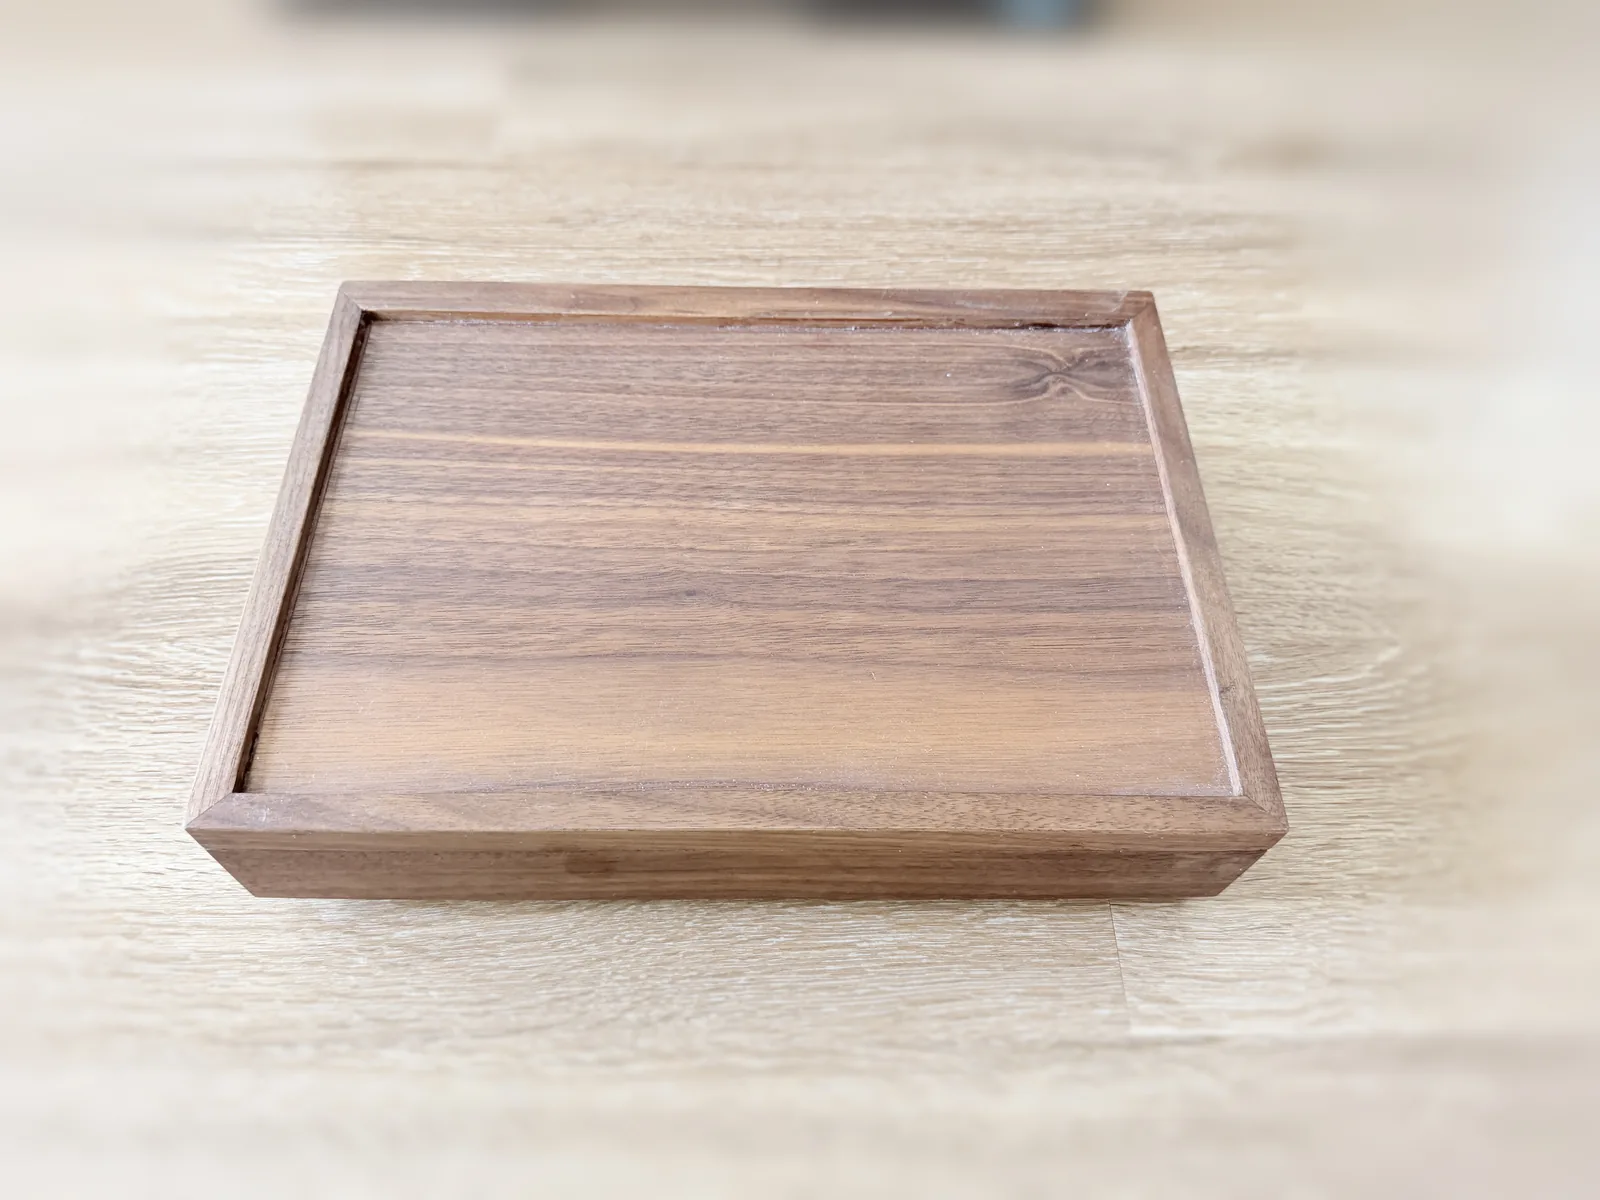
The closed jewelry box resting on a pale wood floor, its lid a mitred frame surrounding a panel of horizontal grain
PL 09The closed lid. A frame around a floating panel that is mitred at all four corners and lit from one side so it reads.

Sheet 03 of 06/The saw

The saw decides, not the joint

The walnut wasn't pre-surfaced and the only tools were a table saw and a drill, so the saw's setup was the only reference the whole box ever got.
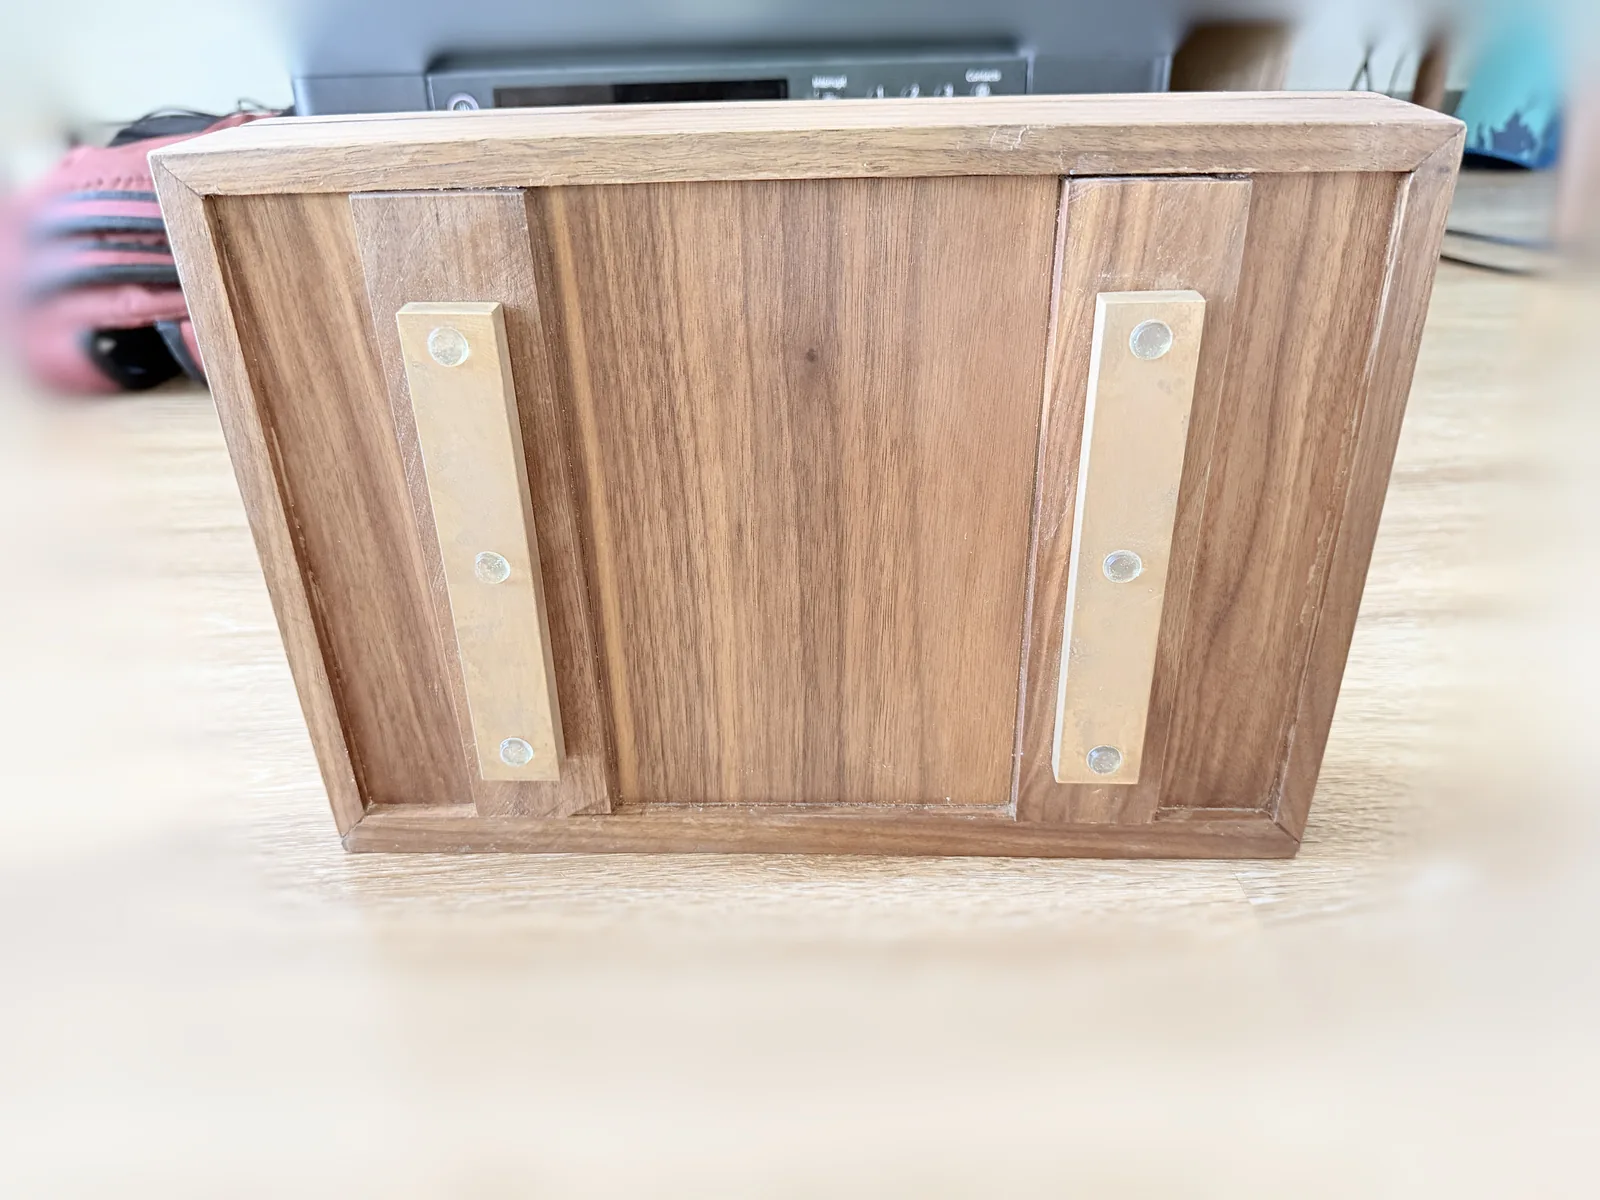
The jewelry box stood upright showing its back face, a framed panel in dark hardwood with two vertical brass plates each fixed by three screws
PL 12The back face and its hardware. The back is framed and panelled the same way the lid is, with two brass plates screwed across the joint.
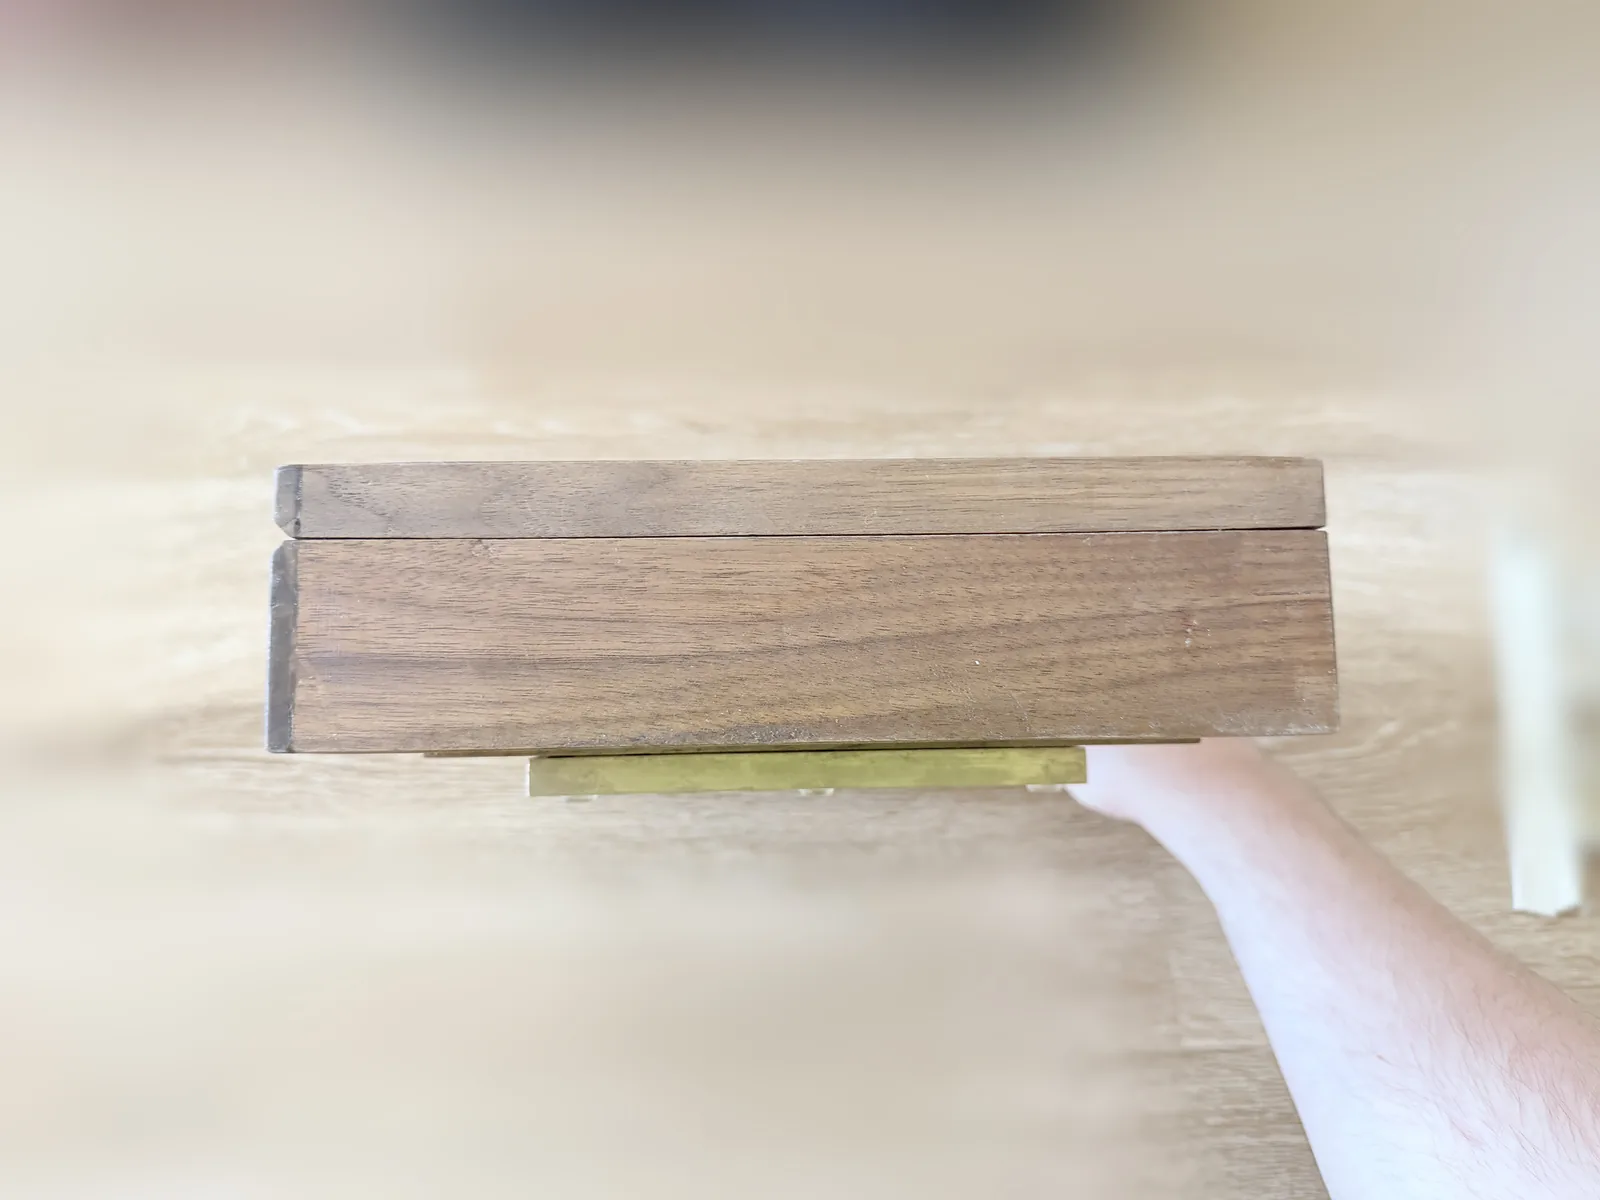
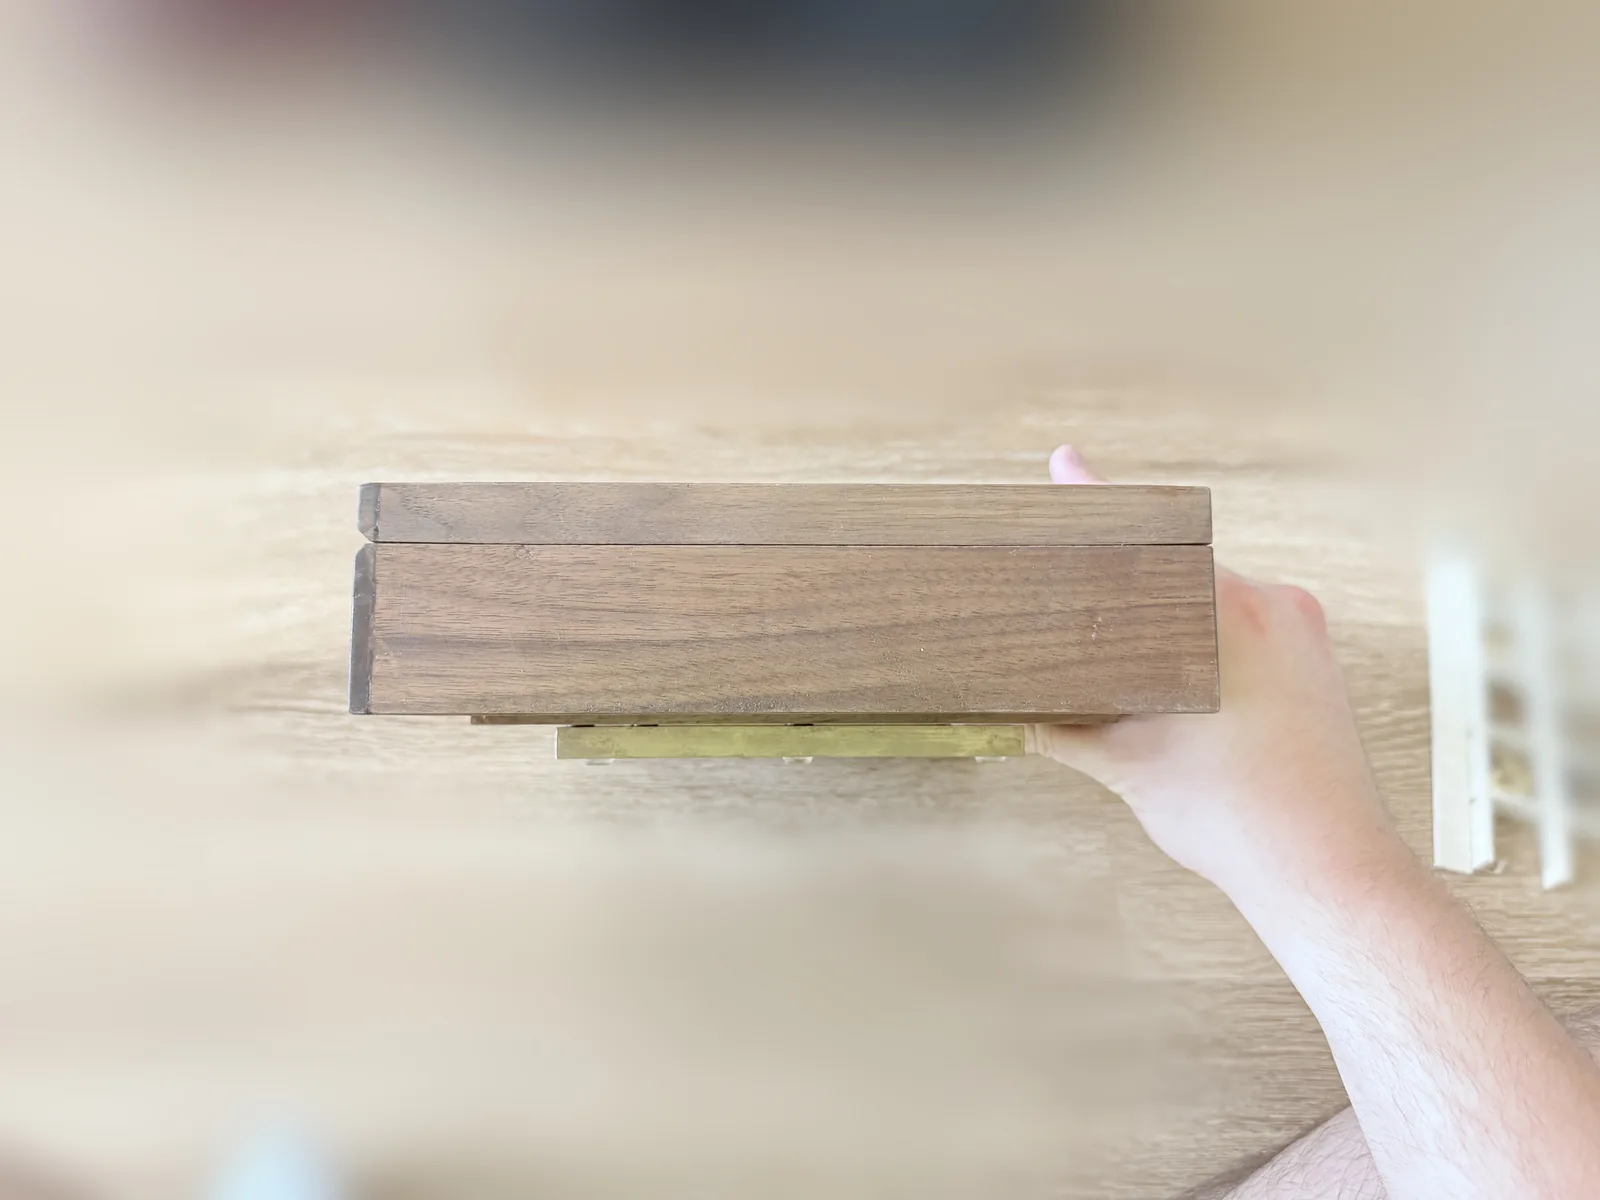
A hand holding the closed jewelry box clear of a table, photographed square from the front, with a brass plate visible underneath it
PL 13Front elevation, held up off the surface so the lid line reads against nothing but floor.

Sheet 04 of 06/Frame and panel

The lid and the back are frame and panel

The lid and the back are each a mitred frame around a recessed panel, not a solid board, and the tray's dividers use the same trick shrunk down, notched into each other so the grid holds itself square.
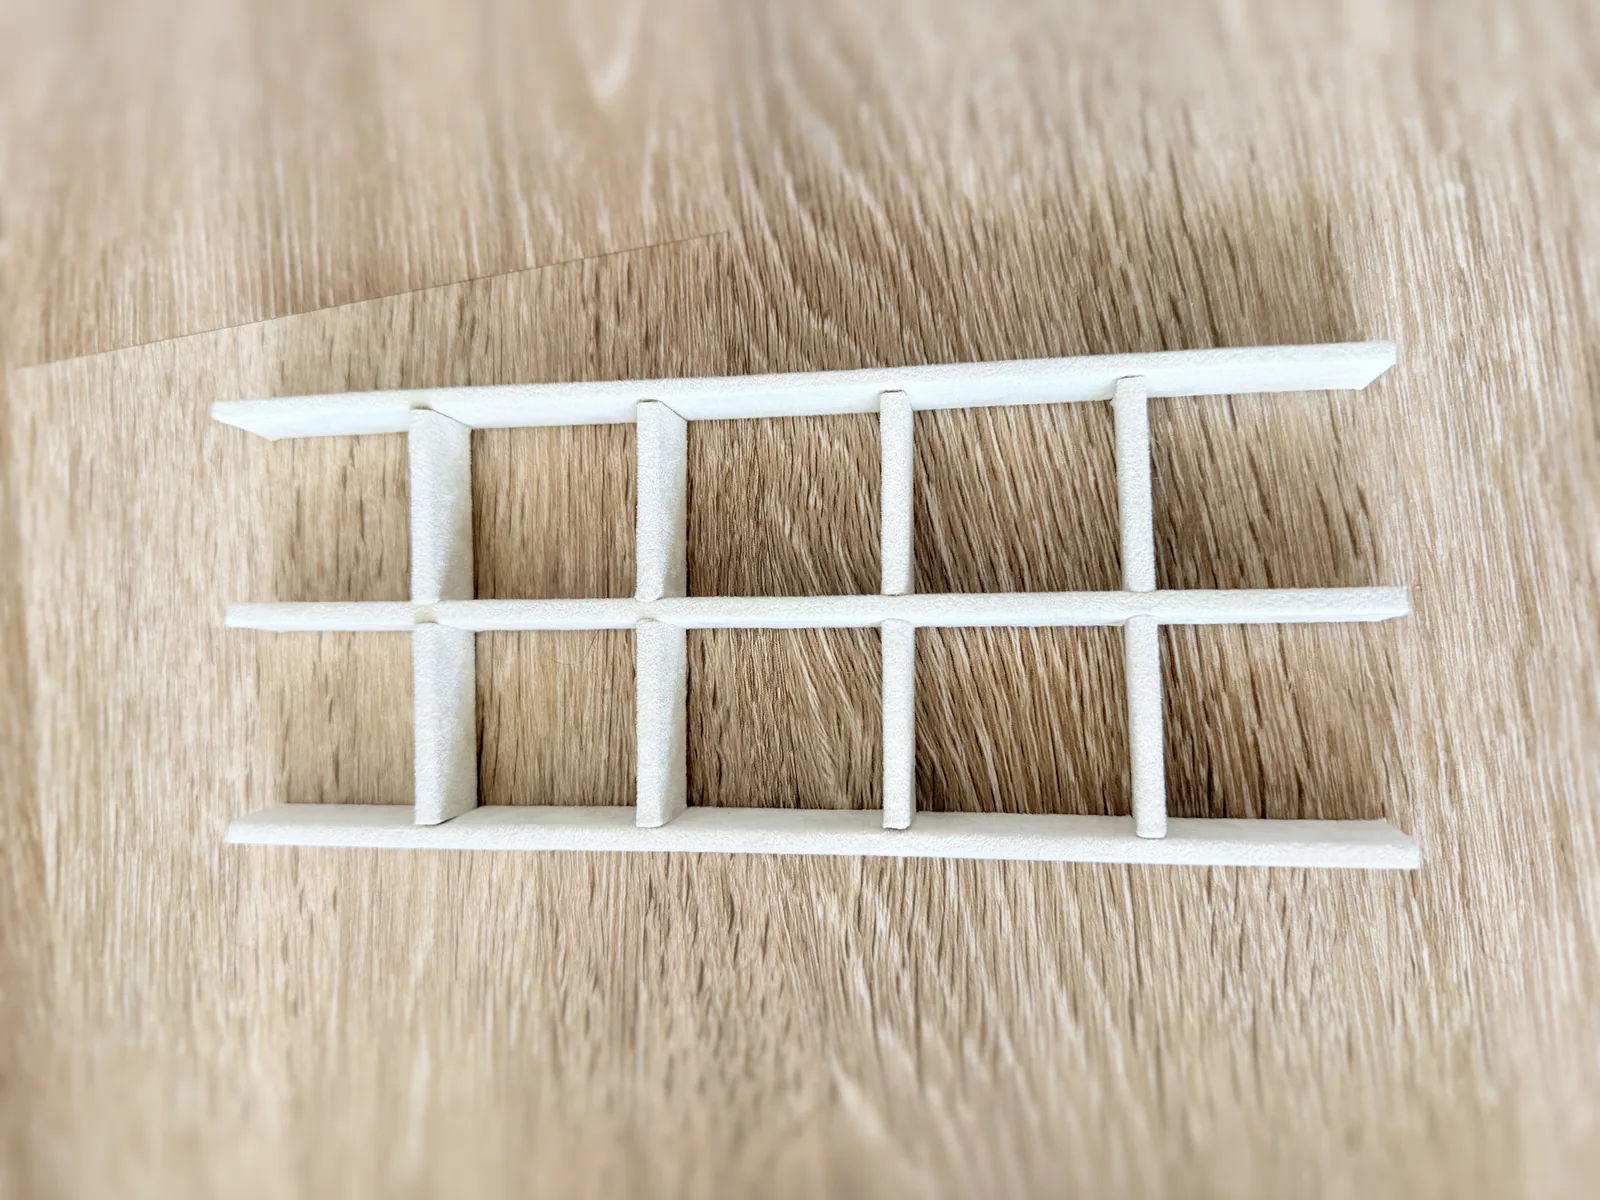
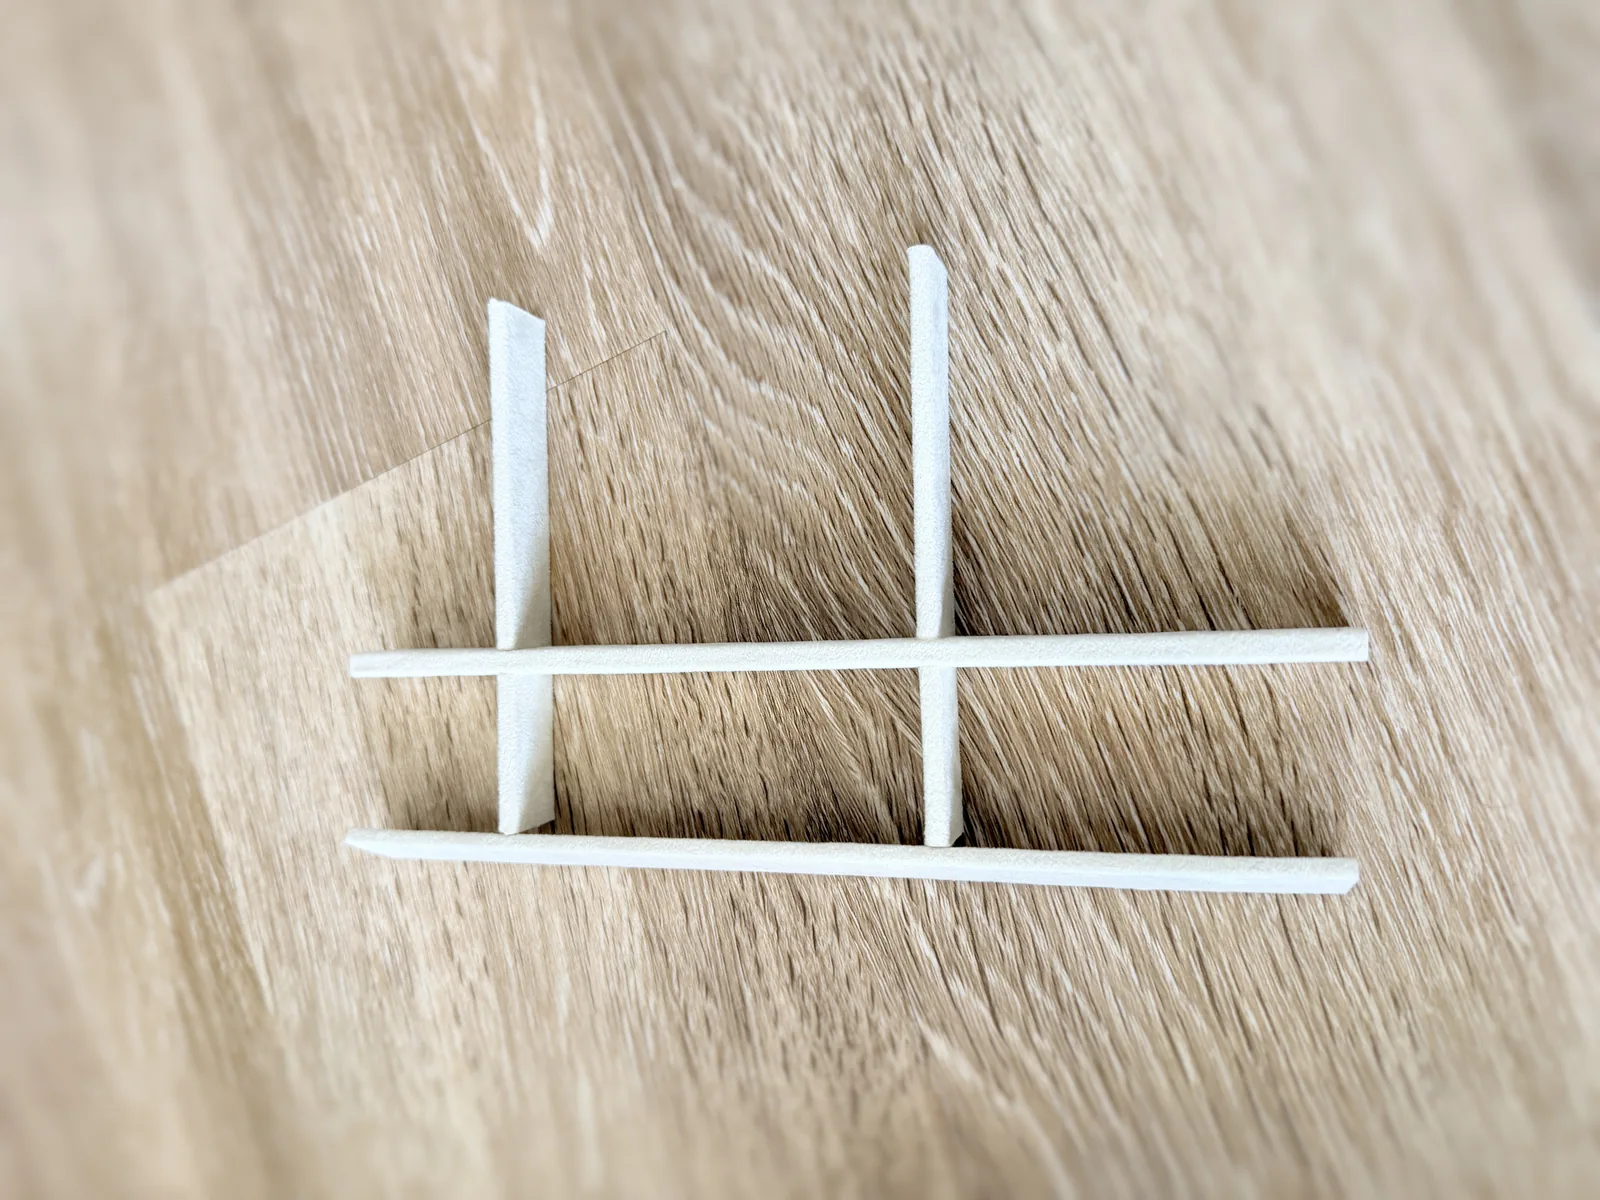
A cream coloured lattice of thin strips laid flat on a wood floor, forming a grid of rectangular compartments, the strips notched into one another where they cross
PL 15The tray's divider lattice. Every strip is notched to half its depth so the two directions pass through each other and the grid holds itself square.
A short section of divider lattice on a wood floor, cream strips crossing at right angles with a notched halving joint at each intersection
PL 16A shorter run of the same idea, and the clearest look at the halving joints. Both slots have to be the same depth or the grid will not sit flat.
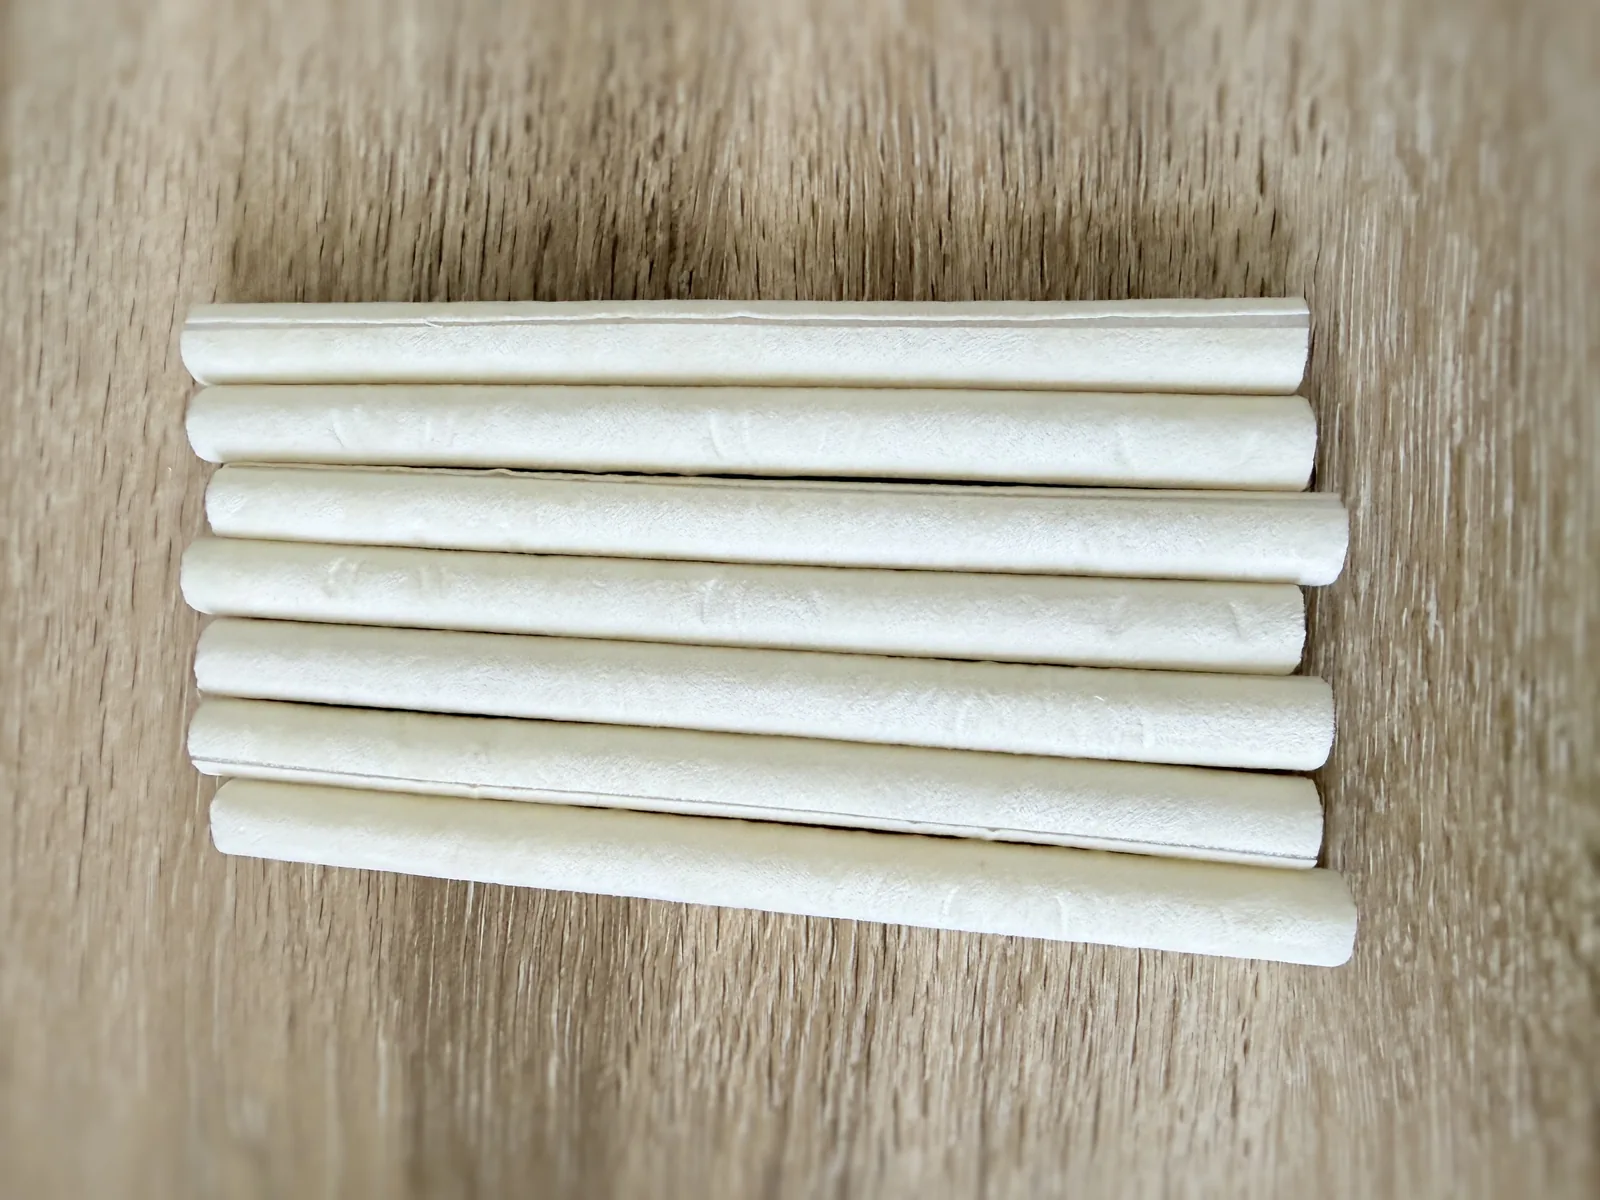
Seven cream coloured padded fabric rolls laid side by side on a wood floor
PL 17The ring rolls out of the tray. Seven padded bars, and it is the gaps between them that actually hold a ring.
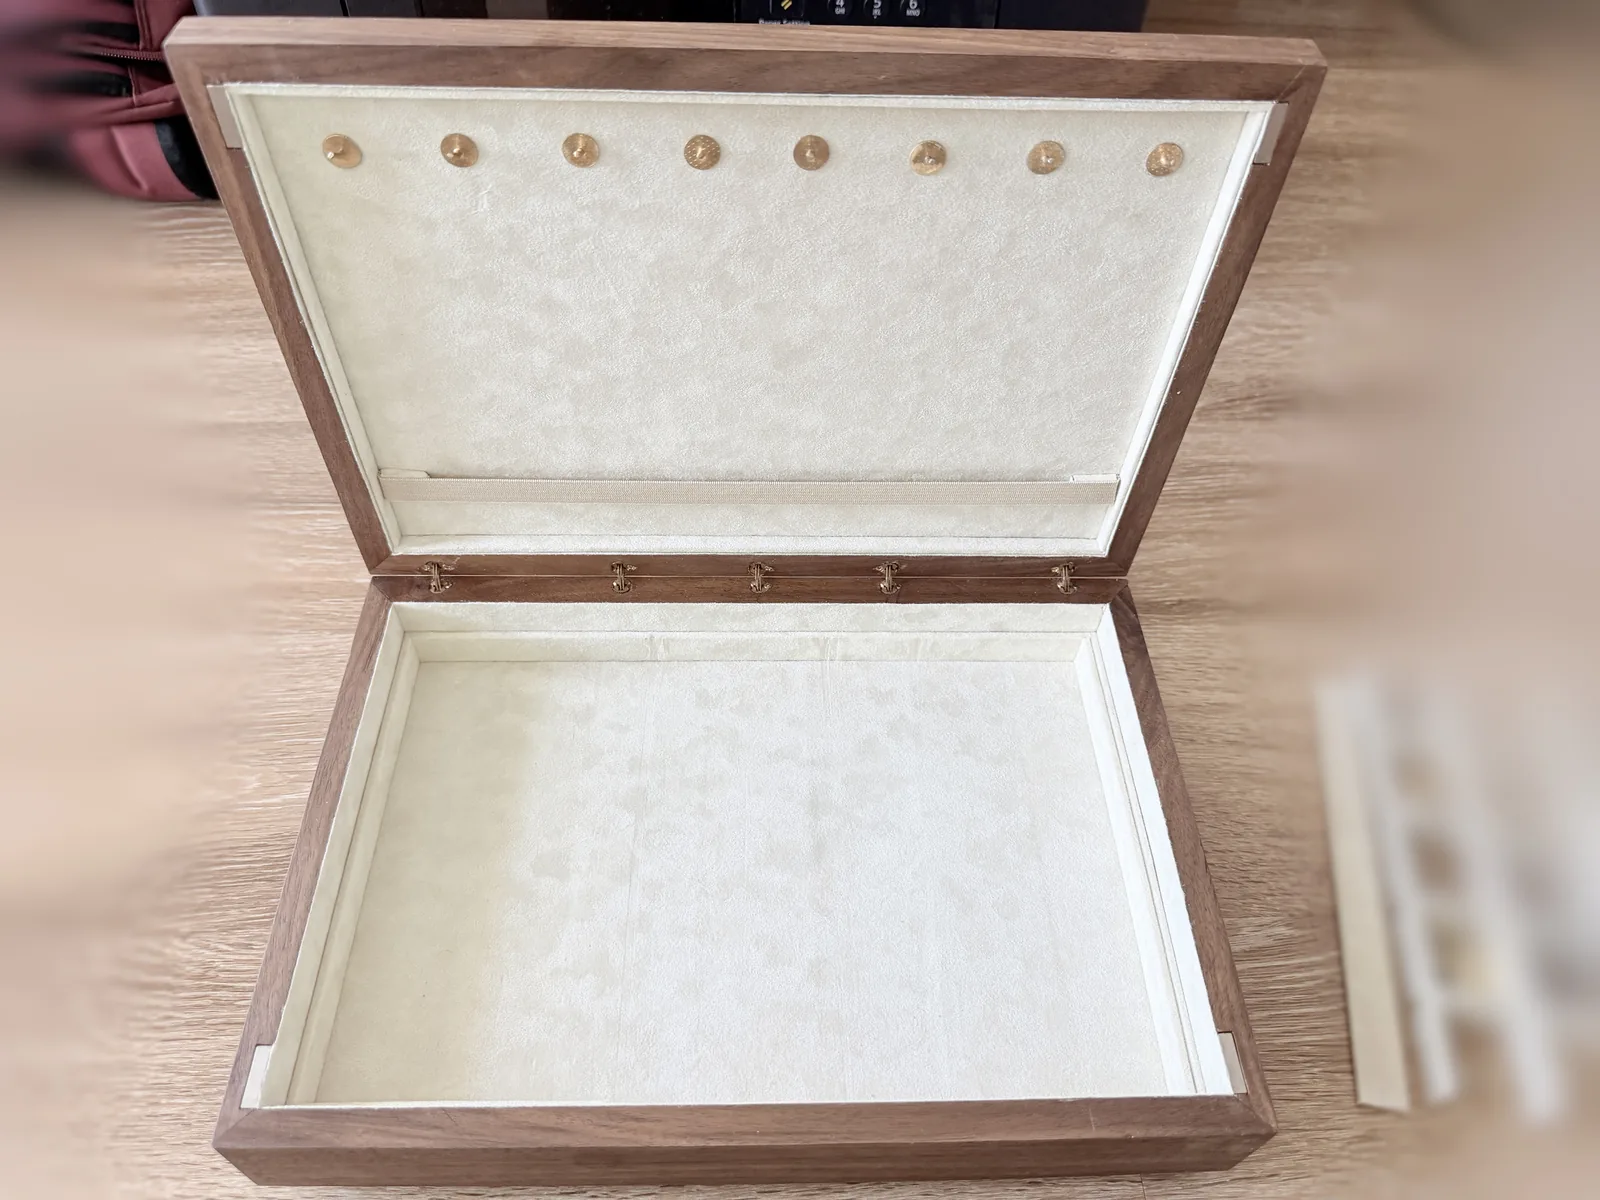
The jewelry box open and empty on a wood floor, its cream lined interior bare, with the removable compartment tray sitting to the right of it
PL 07Empty, with the tray lifted out and set beside it. The base underneath is one open volume, so all of the organising is the tray's job.
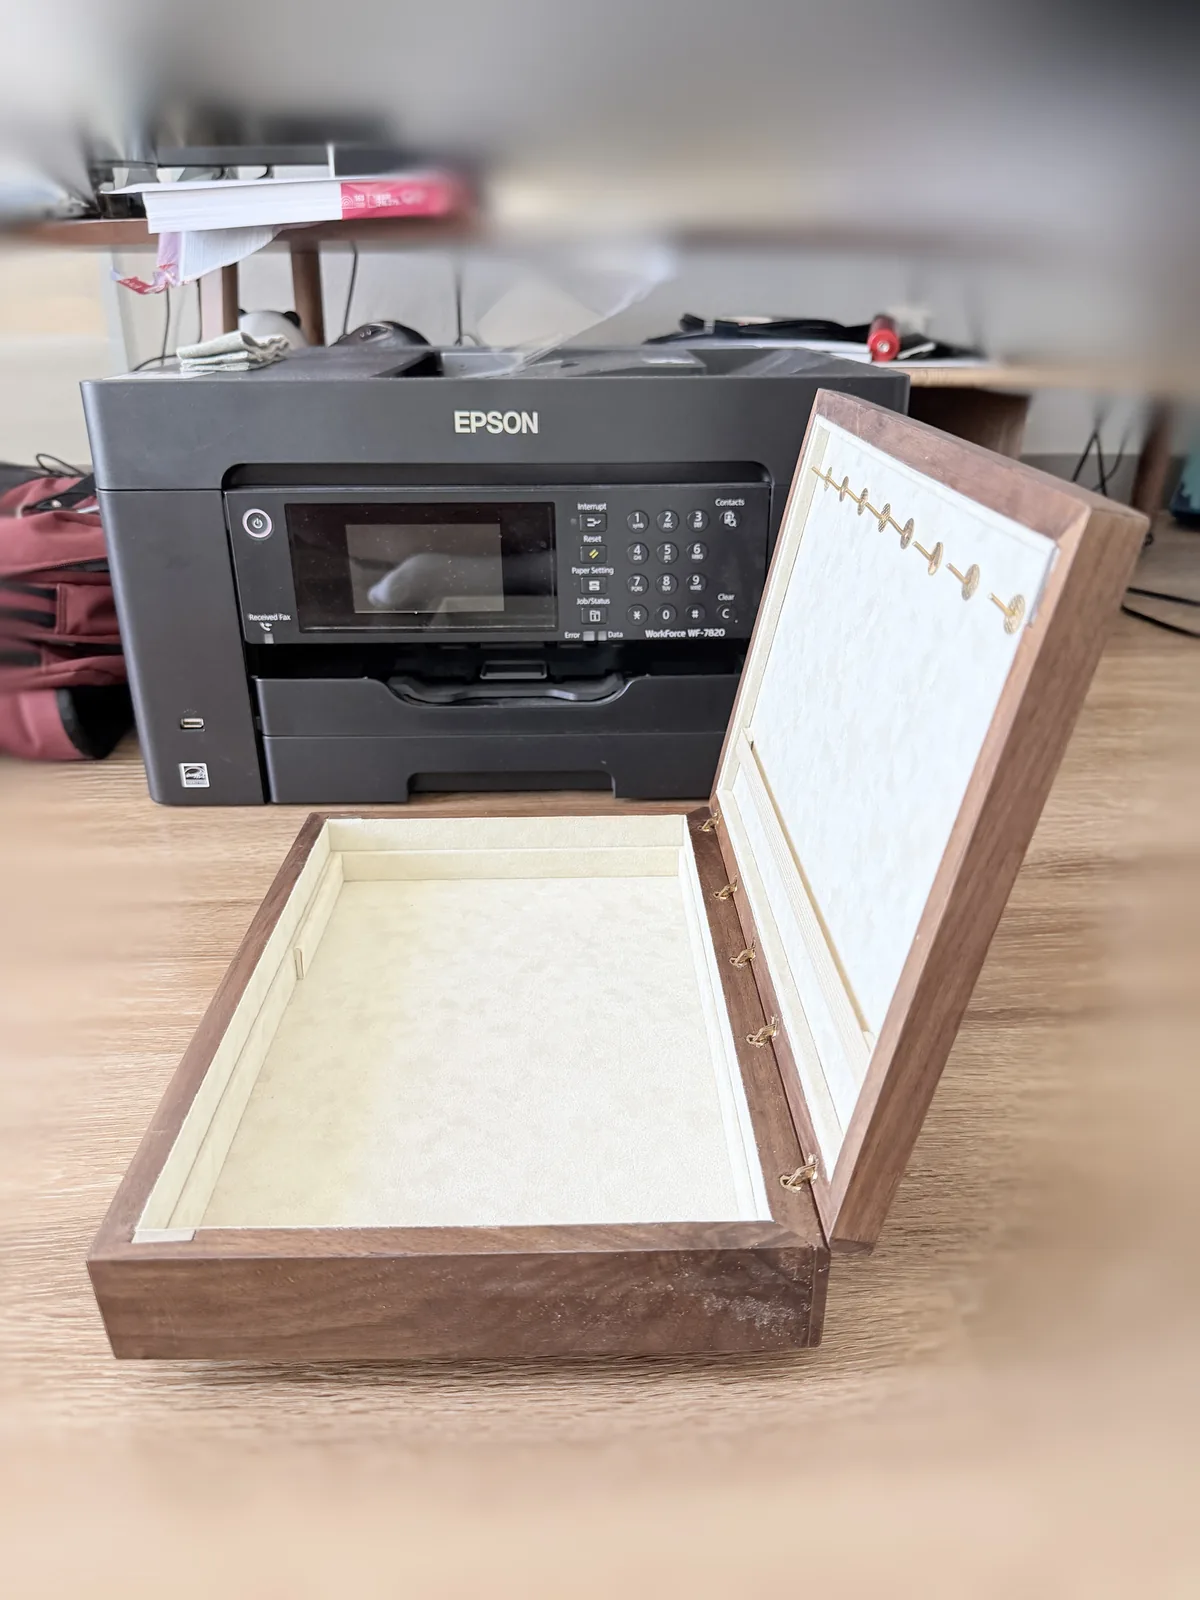
The jewelry box open and standing on a desk, seen from the front, its lid folded back past vertical, with a blurred office desk behind
PL 08Open and upright, which is the only view that shows how far the lid swings back and where it decides to stop.

Sheet 05 of 06/The lid

The lid is the honest test

Every small error from earlier in the build shows up at the lid: four corners that are each a little out of square add up instead of cancelling out, and by the time you can feel that in a rocking lid, the box is already glued.
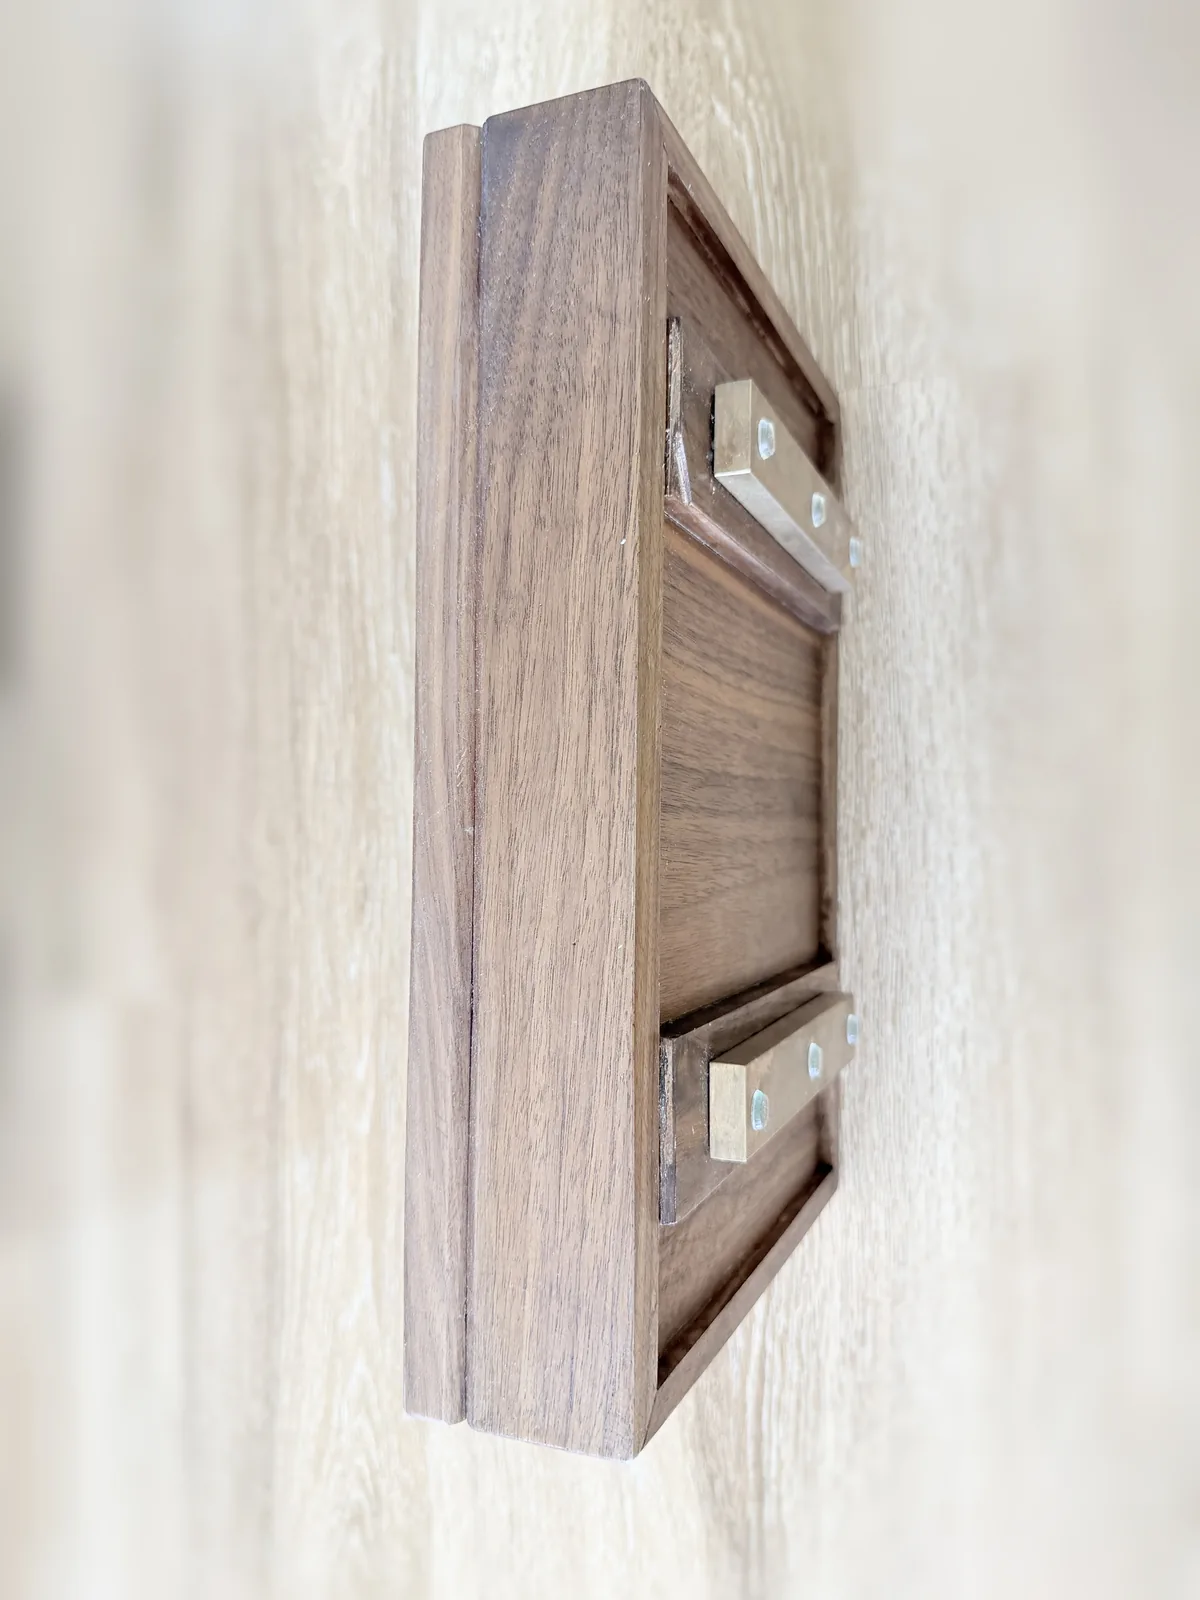
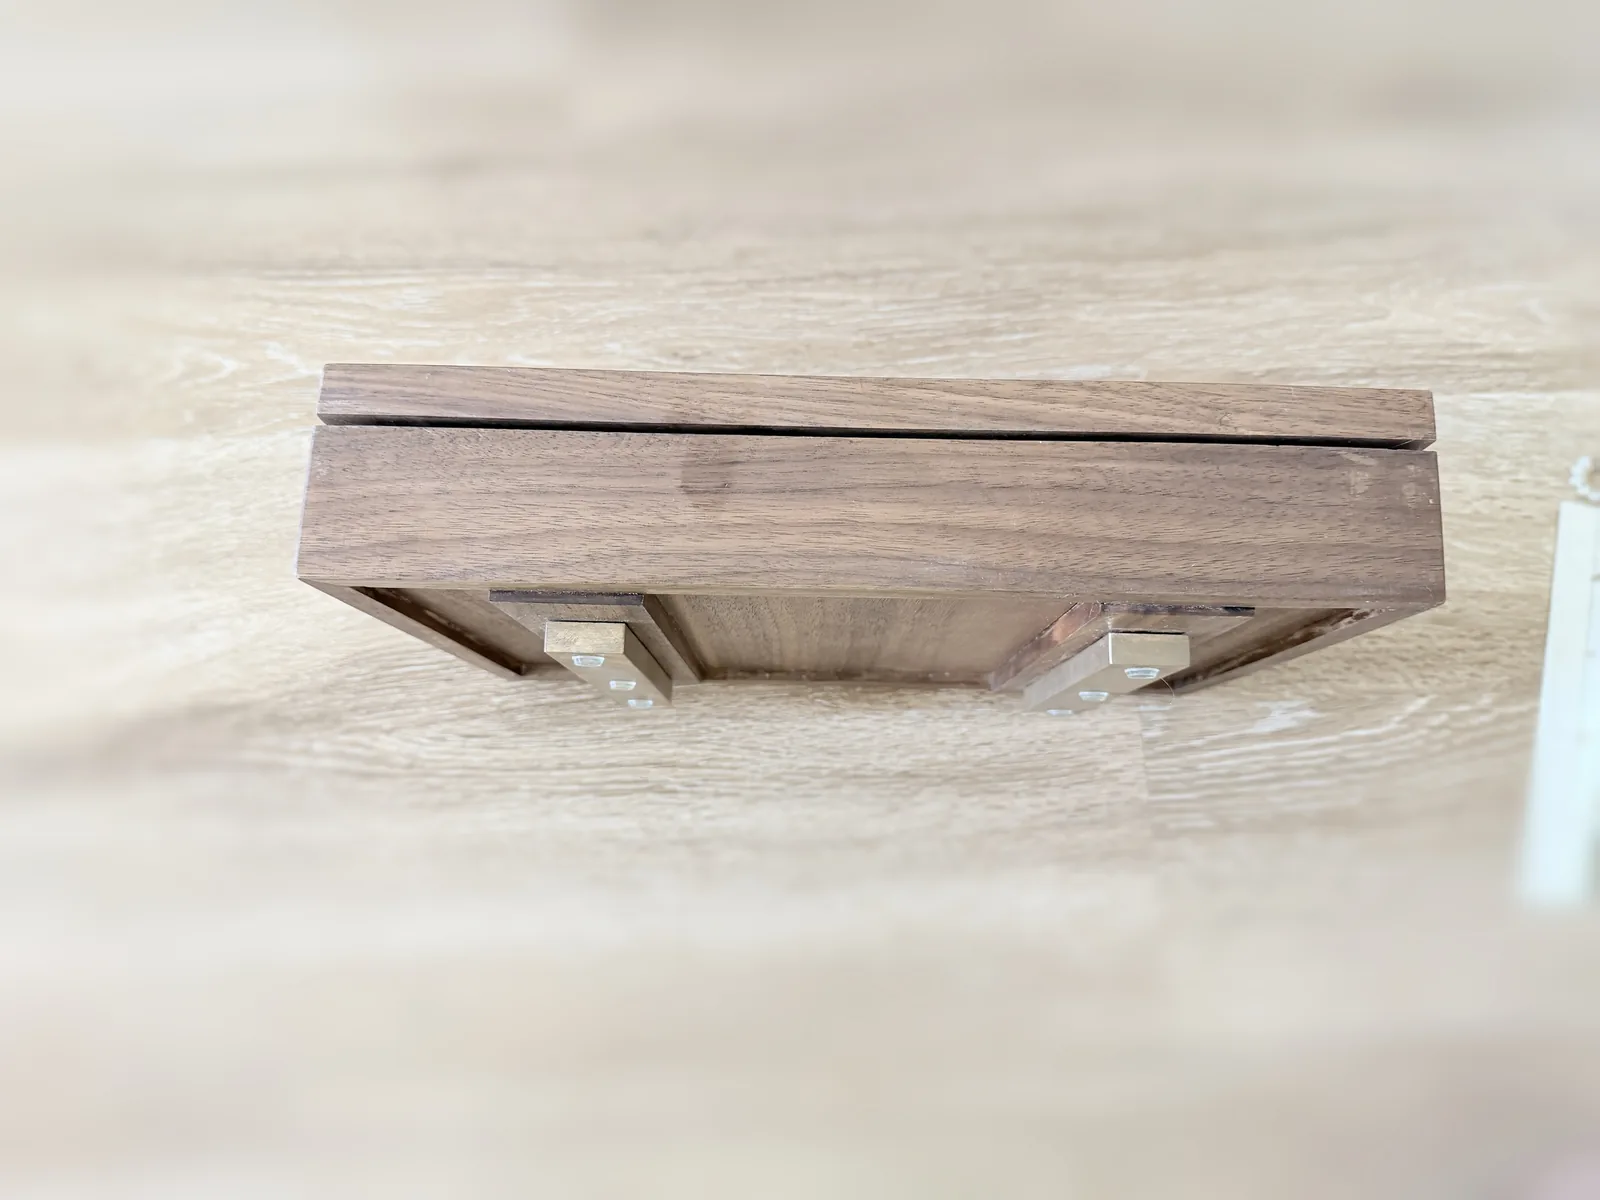
The closed jewelry box stood on one end and photographed from the side, showing the fine gap where the lid meets the base and two brass plates on the back edge
PL 10On end, with the lid line running the full height and the two brass plates that carry it.
The closed jewelry box seen from above and behind, showing the full length of the back edge and the gap where the lid meets the base
PL 11The back edge from above. One constant gap from end to end is the whole test, and this is the view that gives it away.
A close square on view of the closed jewelry box from the front, showing the lid overhanging the base slightly and the thin shadow line between them
PL 14The same elevation, closer in. The lid sits proud of the base by the thickness of its own frame, and the gap between the two is the number that matters.

Sheet 06 of 06/Next time

What I'd do differently

Next time I'd write the dimensions down before touching the saw, dry fit the whole box with clamps before any glue goes on, and take pictures the whole way through instead of just at the end.
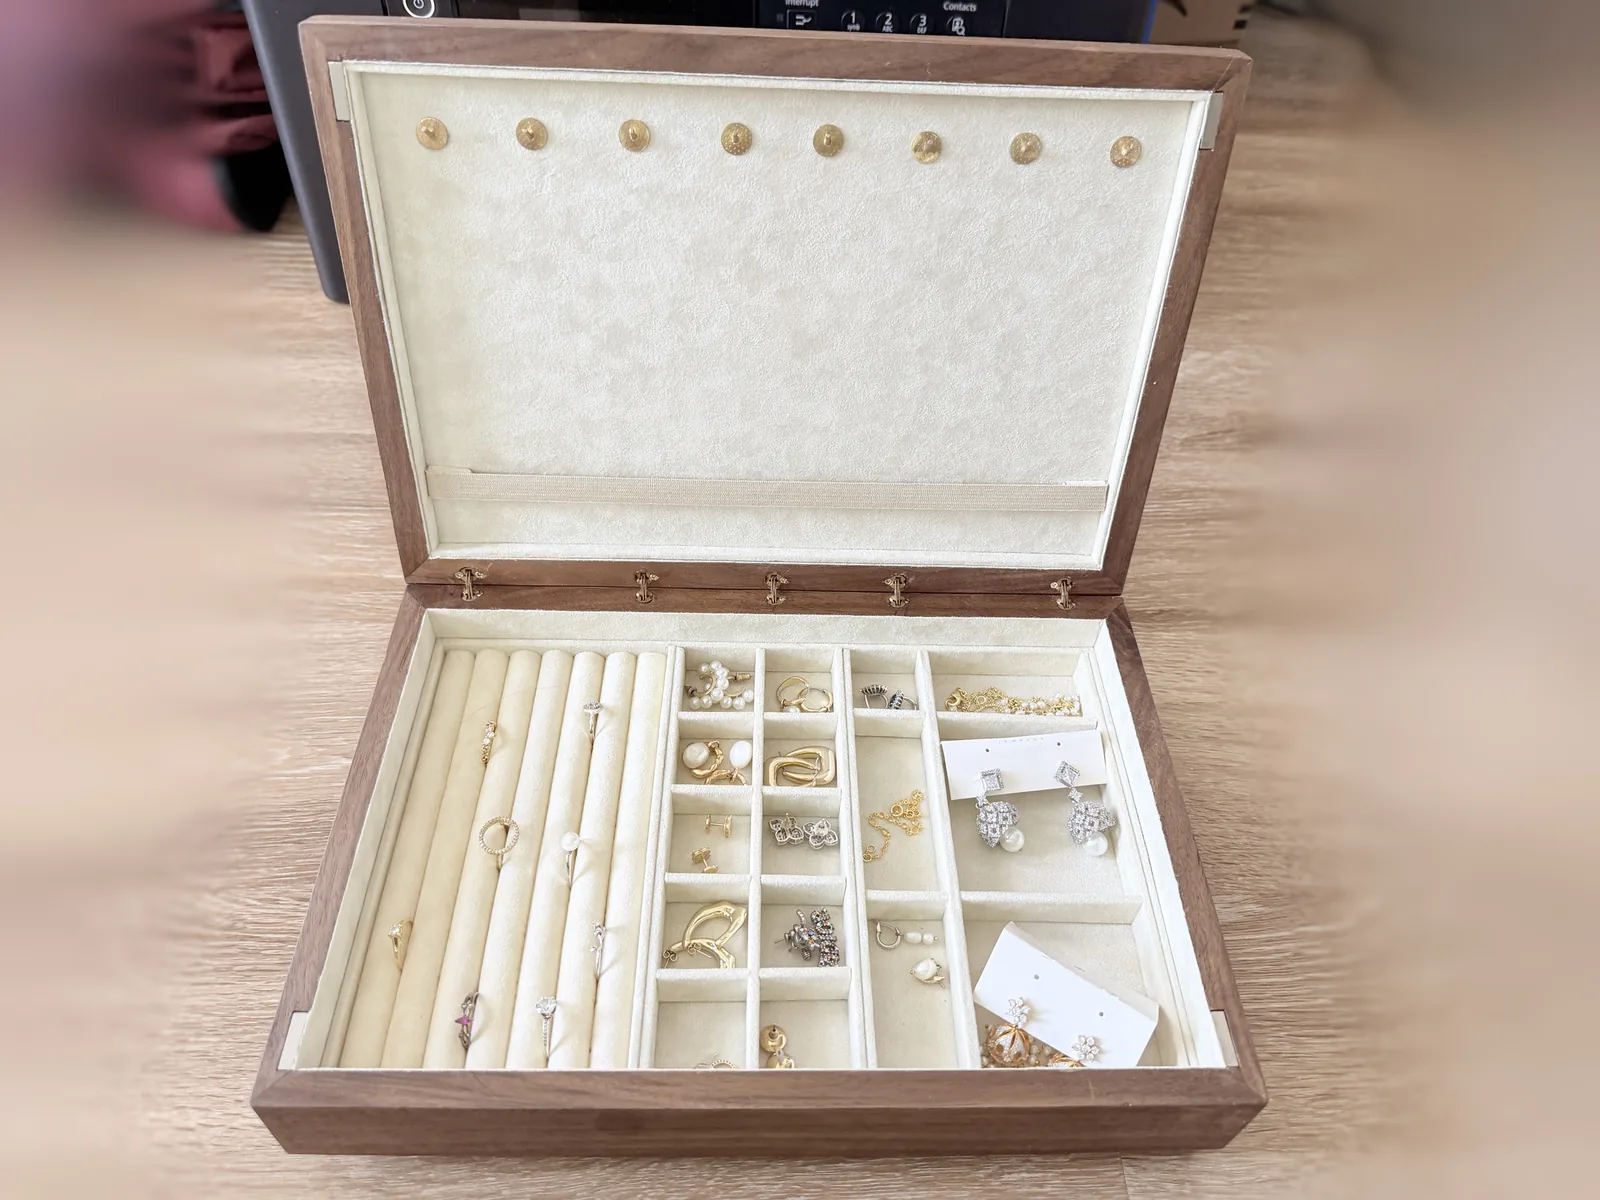
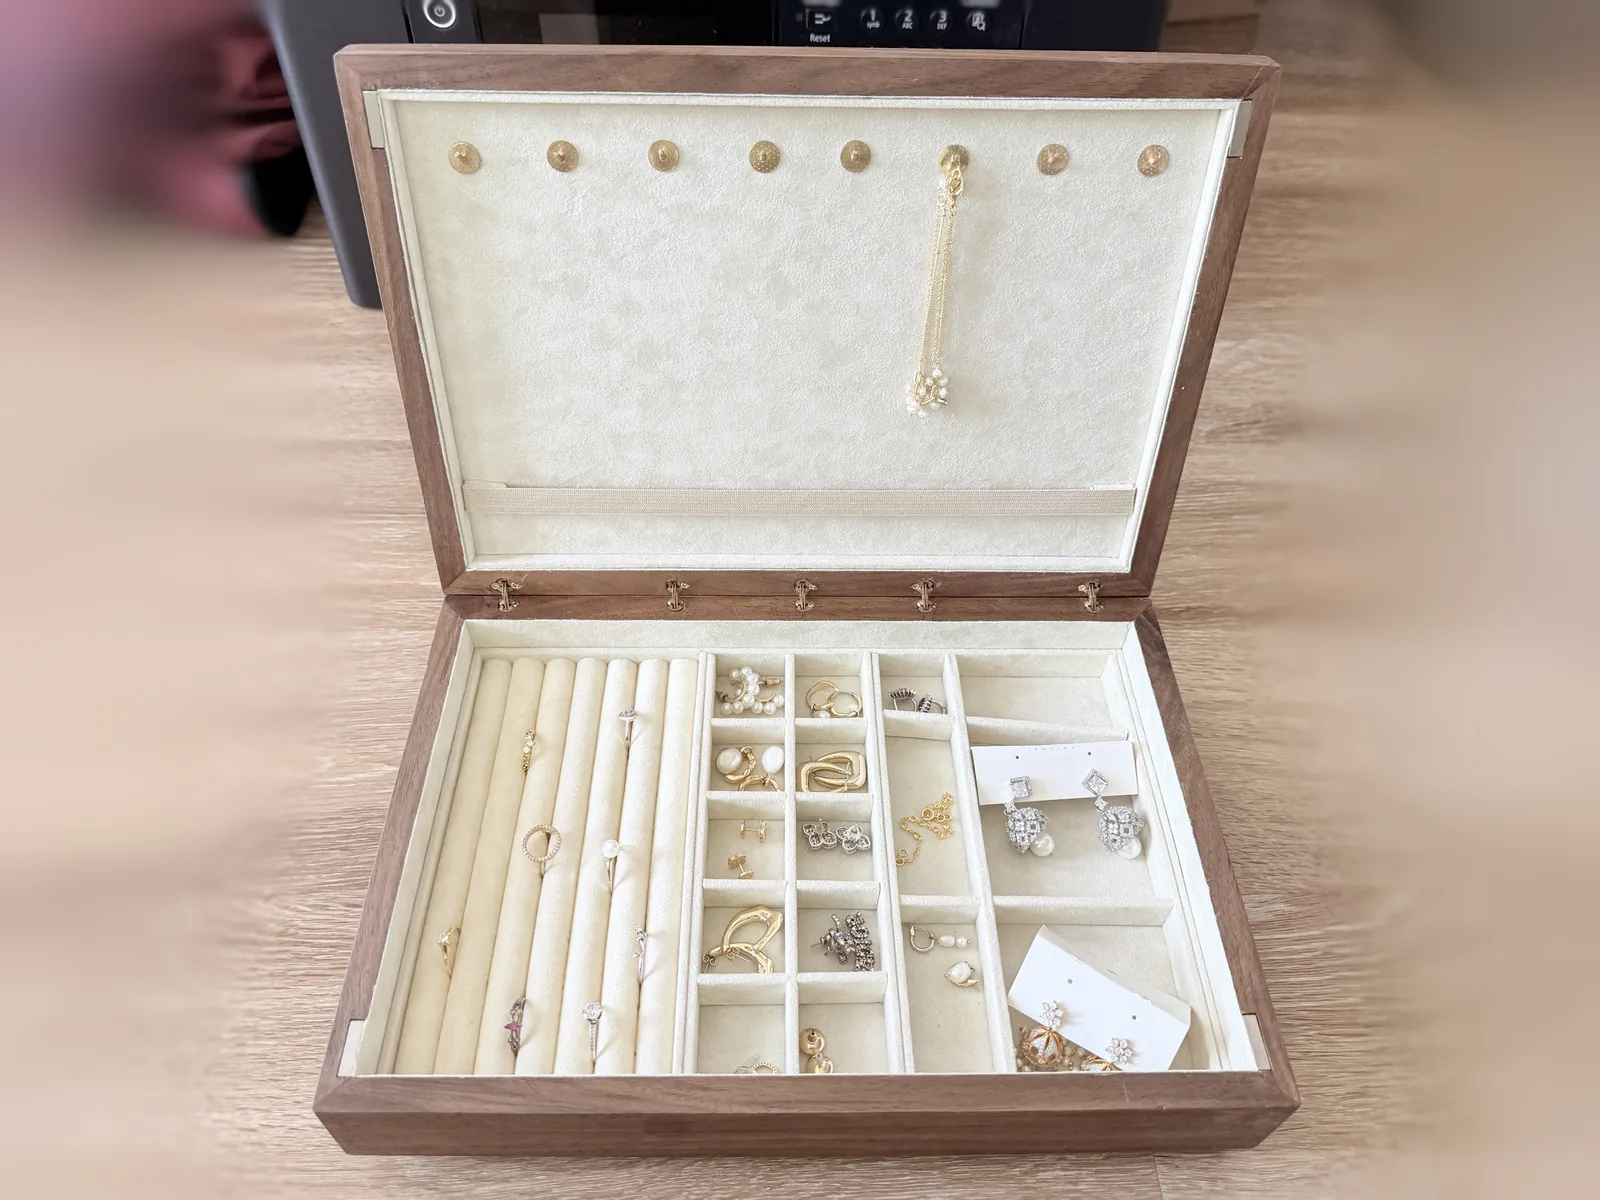
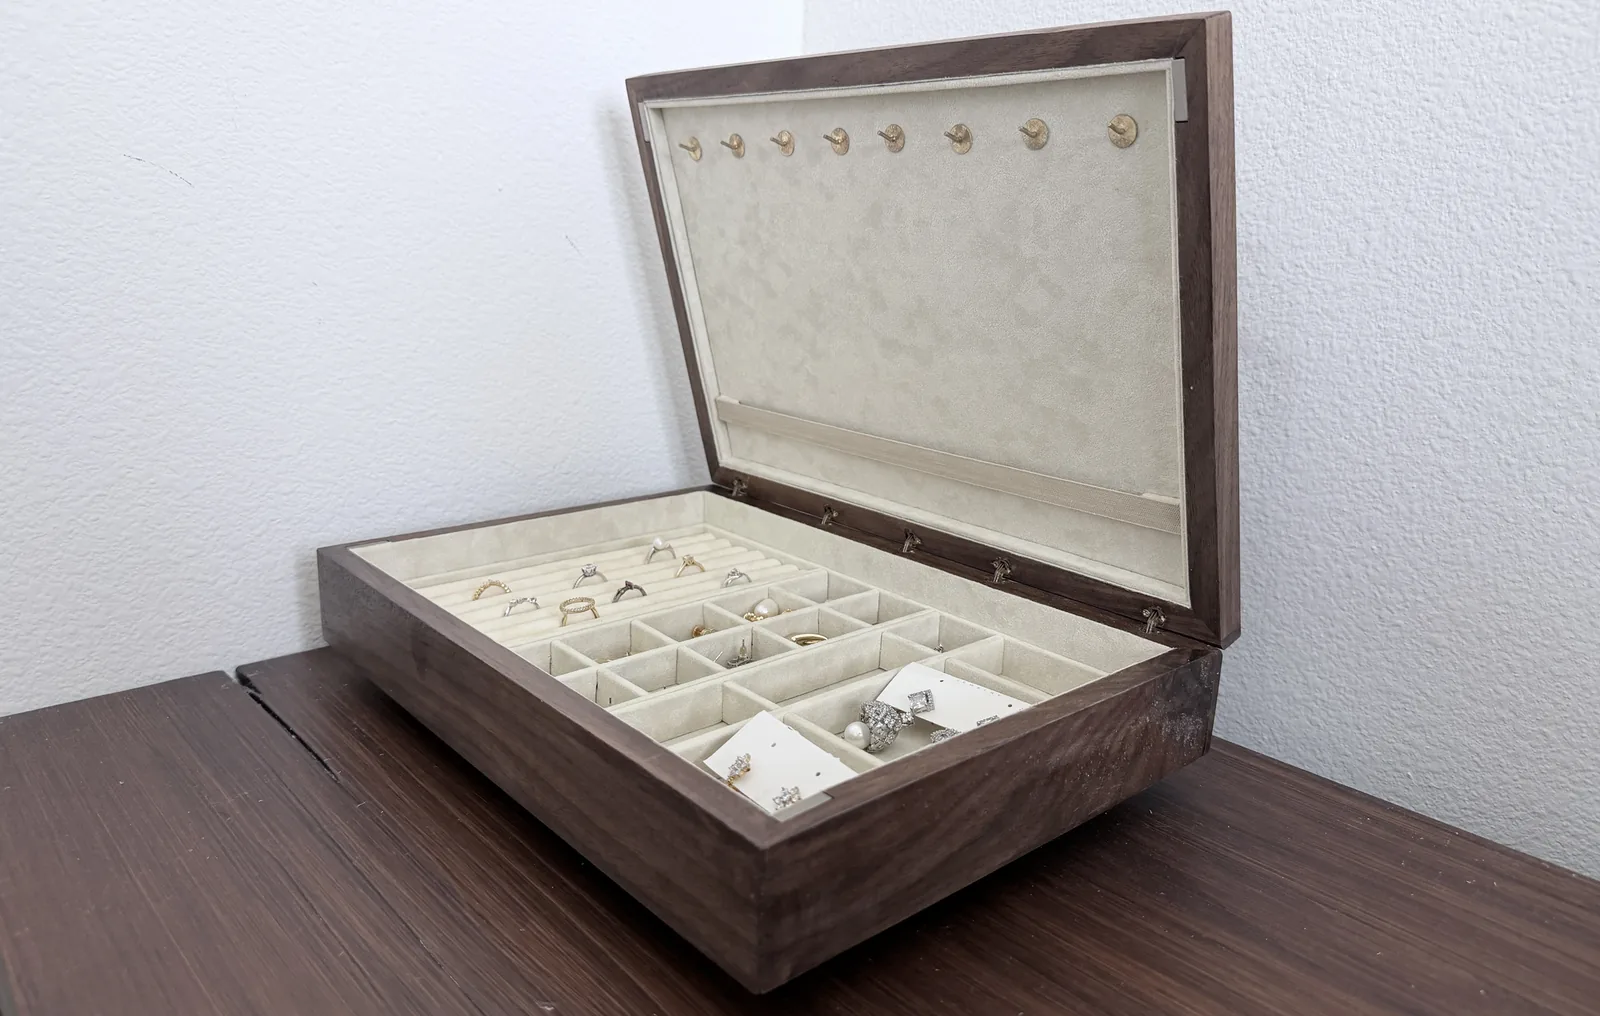
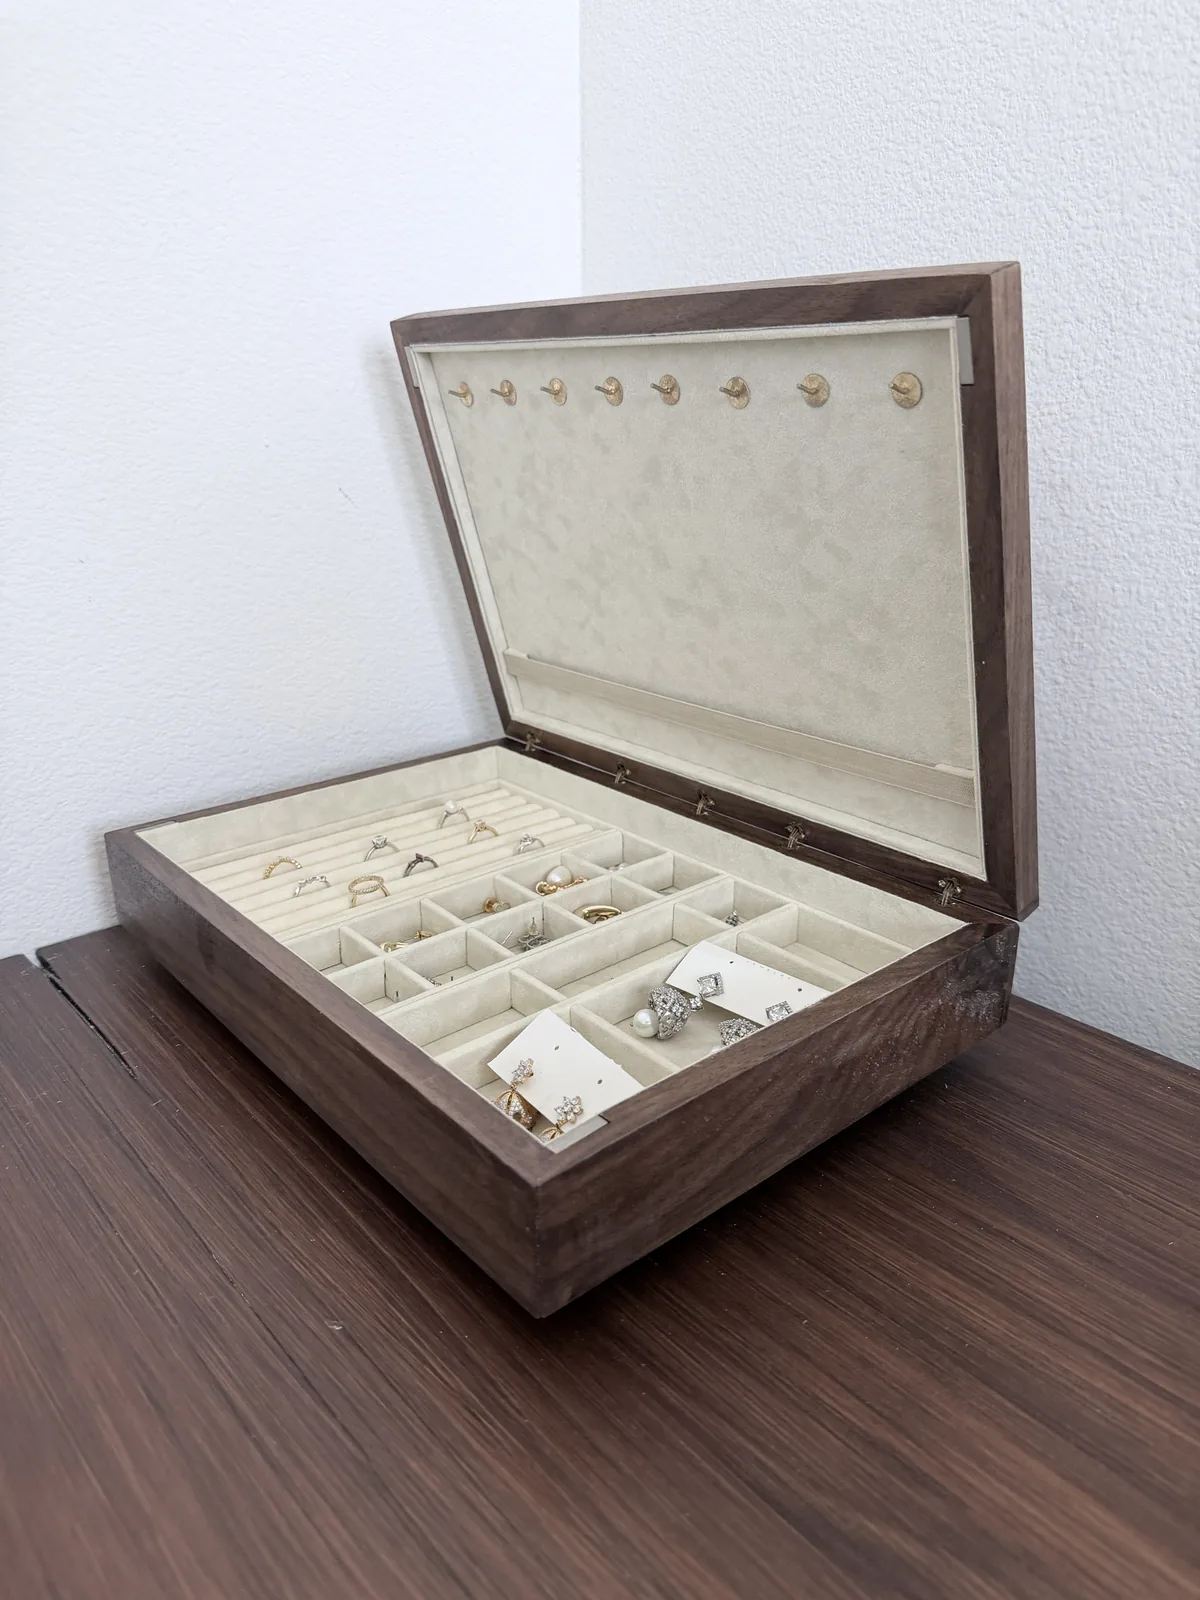
A dark hardwood jewelry box open on a pale wood floor, lined in cream, a compartment tray full of rings and earrings filling the base and a row of small brass hooks along the top of the lid lining
PL 04The box as it actually gets used, open with the tray in and everything in its place. The eight hooks along the top of the lid are what the upper half is for.
The open jewelry box with a fine gold chain hanging from one of the brass hooks in the lid, the loaded tray visible in the base beneath it
PL 05One chain hung where it is meant to go. The lid holds the long pieces so they cannot tangle with what is in the tray.
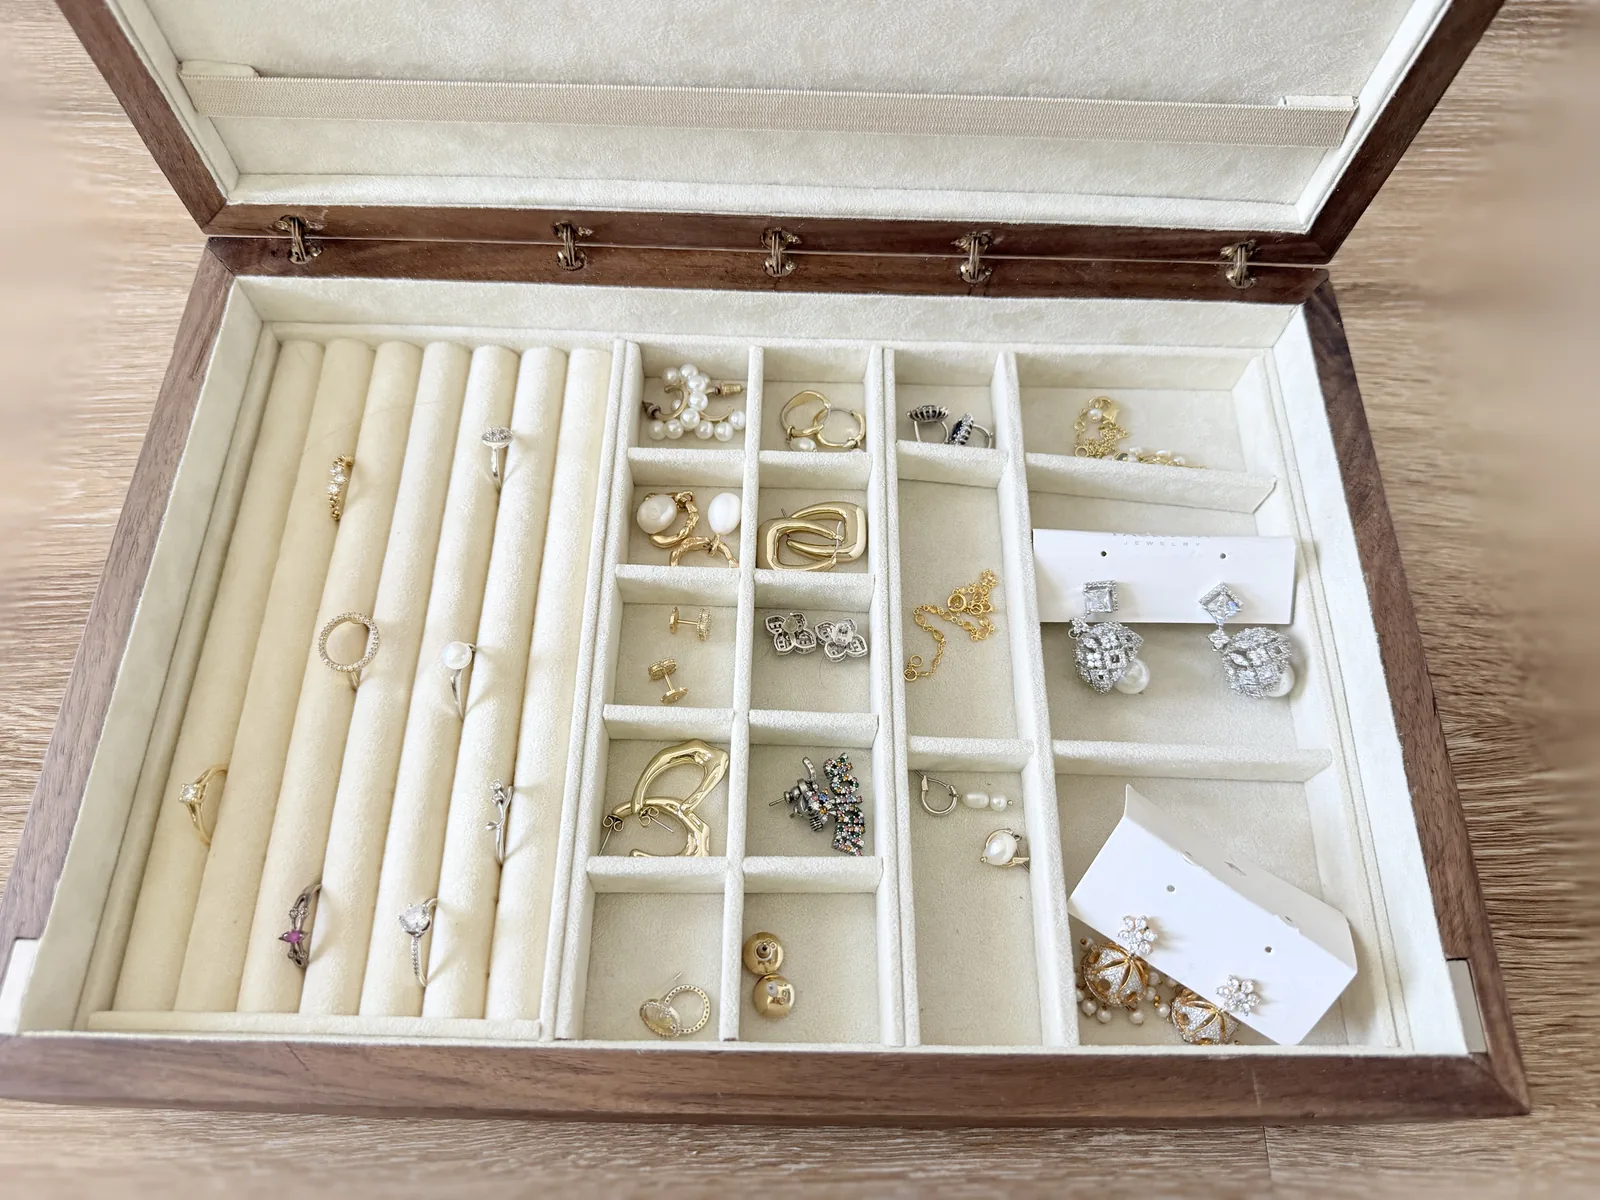
Looking down into the open jewelry box at the cream lined tray, padded ring rolls holding rings on the left and a grid of small compartments holding earrings on the right
PL 06The tray from above. Ring rolls down one side, then a grid of compartments sized for earrings and studs.